Thursday, November 7, 2013

Erin Condren Life Planner with $30 discount AND $20 credit to be used later

Let me tell you how I got an Erin Condren Life Planner (and a few other items) for $30.00 off AND an extra $20.00 in Erin Condren gift cards to spend on a future purchase.


In case you didn't already know, I'm a bit of an organizational nerd.  And I'm not ashamed.  I have been eying an Erin Condren life planner for quite some time now--for both its functionality and beauty.  I decided to save and splurge on my Erin Condren life planner. 

The life planner has many cool features: a laminated cover, inspirational quotes throughout, laminated tabs, a perpetual calendar, monthly & weekly spreads, meals/exercise/lists, etc., snap in ruler page locator, lined & blank note pages, important contact list, birthday/anniversary list, double sided folder, small zippered pouch for loose items, 240 colorful stickers, and a sturdy coil holding it all together.  I'll put some pictures at the bottom of this post so you can check out the details!


Here is the breakdown on how to get the same great deal I got!  First, you need to sign up for a free Erin Condren account using THIS LINK.  This is important because you can get $10.00 off your first order when you use the link.  It's only good if you are referred by an existing customer (which is me in this case), and they email you with the $10.00 off code almost immediately when you register.

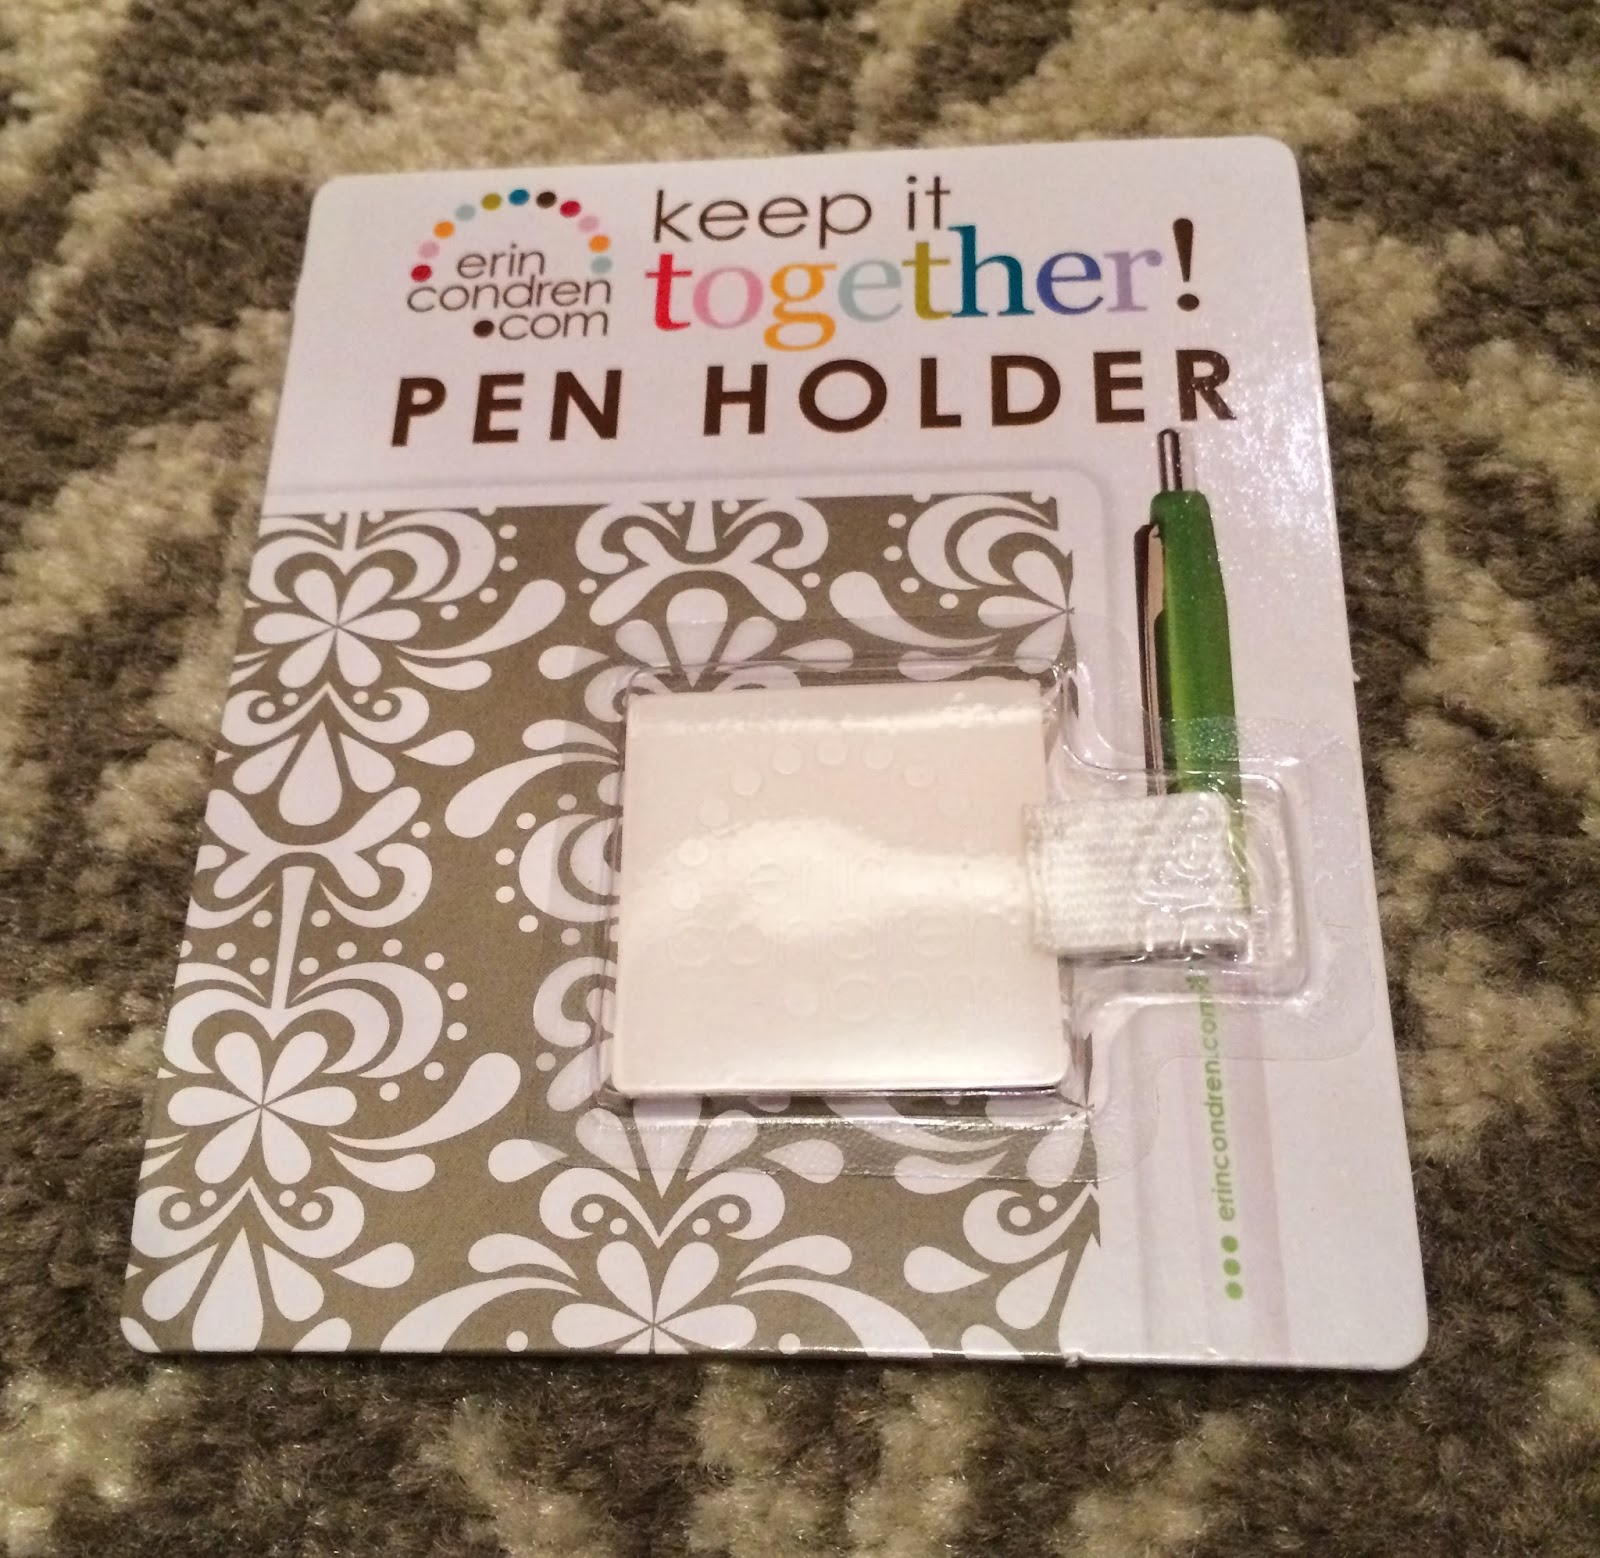
Next order of business is to place your first order.  You want to buy at least $10.00 worth of items and use your $10.00 off credit that was emailed to you.  I chose to purchase the colorful markers ($8.95) and pen holder ($2.50).  You do have to pay shipping on this order which is $7.95.  So if you order those two items and use the $10.00 off code, your grand total will be $9.40.

Next step is to order your life planner.  There are so many designs to choose from--I think that was the hardest part!  On this second order of the life planner, you will use a $20.00 off code GIFT20 (expires 12/31/13).  It's important to note that this code will not work on first orders, that's why it is important to place a small order first.  You can do these back to back, though.  There are add-ons you can get like personalized stickers and whatnot.  I chose one $5.00 add-on as well as some elastic bands ($6.95) so my grand total for my life planner using the $20.00 credit was $49.90 including shipping.

When each of these packages arrive, they will contain a $10.00 giftcard (in each) to be used toward a future purchase.  How awesome is that?!?!


Wednesday, September 18, 2013

DIY customized puzzle for toddler

I wanted to make a customized puzzle for my 15 month old little guy.  Just another layer of depth, if you will, for him as he continues to learn.  Like wouldn't it be great if my little guy can take off the heart puzzle piece and see his Momma?!  Or take off the diamond piece to see his Daddy!
Here's how I customized ours:

First, I purchased a Melissa & Doug puzzle from my local TJ Maxx.  I selected the shapes theme because I thought it would work best with what I intended to do and also because it is simple enough for my 15 month old.  Melissa & Doug is known for their great quality kids products so I felt good bout that, too.  But at the end of the day, any brand or type of toddler puzzle will work for this idea.


Next, I printed pictures of me and my husband along with other family members (like Papa, Gran Gran, etc.)  I roughly measured the shapes on the puzzle and they were all about 2" so I printed my pictures accordingly.  I used Microsoft Publisher and printed on a regular piece of copy paper.  Once I had my images, I cut them out and used a light layer of Mod Podge to glue them onto the puzzle board.  Be careful not to use too thick of a layer or your paper will wrinkle or bubble up!  Once the paper had dried (I waited about 30 minutes), I put another light layer of Mod Podge on top of the picture to seal it into place.  Cause let's be honest, toddlers spill things and drool and I wanted to make sure that everything was sealed and protected once I give it to him to play with.  I let this final layer dry overnight before putting the pieces back onto the puzzle.  

Oh the fun he will have discovering all the pictures hidden under the shapes and shouting out each person's name as he discovers them!  It is essentially another layer of fun and learning for him as he grows.  Plus I can always Mod Podge new pictures onto the puzzle as he gets older--like animals perhaps.

Tuesday, February 12, 2013

Top 10 Items for Baby (and every new mom)

I'm a new mom (yay!) and I can still vividly remember walking into Babies-R-Us being 6 months pregnant thinking "I got this!" on creating my baby registry.  I mean, I'm the first to admit that I am a bit of a shopaholic and I had long since been dreaming about the day that I could create a baby registry.  But my excitement turned to sheer terror and a small scale panic attack when I stepped foot into that store.  I quickly realized that I had no idea there were so many items to choose from.  I mean, how am I supposed to know which one of the twenty kinds of baby bottles is best?!  So I did what any sensible girl would do.  I went home, had some chocolate (to calm my nerves of course), and called my wonderful and beautiful friend--and fellow mom--Brande to go with me for guidance.  And she was a lifesaver!!

So let's get to the point already, right?  Here are my list of top 10 items that are "must haves" for every new mom.  I will say at this point that the only thing that qualifies me to make a list like this is the fact that I am a first time mom myself.  My baby is almost 8 months old as of the time I am writing this and I have learned a LOT!!  (With a lot more to go, I'm sure.)  Also of important note--I have not received any gifts or money from the companies I am recommending.  Although if anyone from these companies is reading, I'm happy to accept gifts or money.  :)

These are in no particular order besides number 1 which I think is the most important for every new parent.

1.) Angelcare baby monitor 


This is the cream of the crop when it comes to baby monitors. This device monitors both sound and movement.  It has a sensor that goes underneath the baby mattress (or bassinet pad) that senses the babies movements and breathing.  If the baby goes more than 20 seconds with absolutely no movement it will sound an alarm.  This is probably the only thing that kept me from literally watching my baby sleep to make sure he was still breathing.  I'm not saying that I didn't stand over his crib watching him sleep for at least 30 minutes the first night he transitioned to his big boy crib, but I am saying that this monitor allowed me to sleep for all the time after those first 30 minutes.  It's worth every penny for the peace of mind and security.  It will also monitor the temperature in the baby's room and sound an alarm when it goes above or below what temperature you have set as acceptable.  (For me the room has to be between 66 and 74 degrees.  I have found that when my on is congested, being 70 or below is ideal and keeps his coughing to a minimum.)

-------------------------------------------------------------------

2.) Gripe water
I'm partial to the Mommy's Bliss brand because it does not have to be refrigerated, but I'm sure there are other brands that are just as good.  This stuff has been a lifesaver on more than one occasion.  And it's an item I would have NEVER purchased if it hadn't been recommended by a fellow mom.  The name alone--gripe water--just doesn't sound very appealing.  What is appealing is the result you get from this bad boy.  There were times when my son was just a few weeks old that he would cry and cry for no apparent reason.  I did all the things they teach you do--feed him, burp him, change his diaper, make sure he's not too hot or cold--nothing worked.  Then we tried this and it literally would soothe his crying in about 3 minutes time.  Not that I was counting or anything.  We still use it occasionally even now that he's older.  Still works just as great!

-------------------------------------------------------------------

3.) Fisher Price Rock 'N Play Sleeper


We have the Snugabunny model but I'm sure the other models are comparable. The rock 'n play sleeper is a multipurpose device.  We used it for several weeks to allow our son to sleep next to our bed. It allows the baby to sleep on an incline which is especially important for babies who suffer from reflux.  I liked it a lot because it is lightweight and portable so it was easy to carry him from room to room even while he was sleeping.  Also whenever he would start to wake up, I could just rock him and shush him back to sleep easily.  We still use ours but his feet are hanging over the end now so I think our time together is coming to an end.  Which makes me sad cause it really is a great device!  Oh, and it's easy to take the cover off and wash in the washing machine--which you will inevitably have to do!

-------------------------------------------------------------------

4.) Trumpette socks
The Trumpette line of socks are hands down the best baby socks.  They actually stay on your baby's feet!  They don't slide down like a lot of other baby socks.  I especially love the bright colors (that don't fade after you have washed them 60 times) and the fact that they look like baby shoes.  So stinkin' cute!!  The two pictured above are my favorites that I use on my son.  They are "Pop Stars" and "Kapow".

-------------------------------------------------------------------

5.) Woombie
Awww, the woombie.  Babies like to be swaddled.  That's a fact.  And there are lots of swaddle blankets out there.  We tried MANY of them.  The woombie was my favorite and my son's favorite.  The woombie is a swaddle blanket that zips up from the bottom which allows for quick and easy diaper changes in the middle of the night.  (Yes, sometimes you have those.)  In my opinion, the woombie is superior because it recreates a womb type feel.  The baby's arms and hands are not strapped down, they are free to move about inside the swaddle.  But babies can't move their arms around so much that they are slapping themselves upside the head with their flailing arms and hands that they cannot control and thus waking themselves up several times in the middle of the night.  (Not to mention those flailing little hands can do some major damage scratching their precious faces while they are flailing about.)  The woombie helped my son sleep throughout the night and to me, that's a major deal!

-------------------------------------------------------------------

6.) Wubbanub pacifier

I bought my son a monkey Wubbanub pacifier because I thought it was super cute.  (They have other animal choices too).  Turned out to be a big hit for him!  I'm not sure if he like the pacifier part or the monkey part better.  There were lots of times that he would just hold the monkey while he fell asleep.  It was also great because it would lay on his chest while he sucked on the pacifier and that seemed to help him be able to keep it in his mouth.  Especially during those first few months.

-------------------------------------------------------------------

7.) Teether toys from Vulli: Sophie the Giraffe & Chan Pie Gnon
This one is a tie!  My son has been a huge Sophie fan from about two months old.  She's still a staple that he goes too, but his focus has changed from her ears to her hoofs.  When he was about four months old, he started really chewing on the Chan Pie Gnon teether (that crazy looking creature on the right that kinda looks like a white and yellow goomba from Mario Brothers).  We'll just call it chan for now.  Chan is made from natural rubber and easy for babies to grasp and chew on.  Chan is super sensitive to touch and will squeak with the slightest touch (that's hilarious and pretty awesome to a baby).  My son prefers chewing on the loop at chan's head and also on his feet.  Both Sophie and Chan are very soft and easy to clean.  They are phthalates and BPA free.


-------------------------------------------------------------------

8.) Cloud B Twilight Turtle


The Twilight Turtle is something my son will use for MANY years!  It projects star constellations on the walls and ceiling.  You can change these star projections to three different colors.  (We use the green one).  It actually has eight constellations embedded in the star pattern that you can help older kids identify.  I can see this turtle being a great tool to help kids who are afraid of the dark.  It also features a 45 minute sleep timer so no need to worry about turning it off.  This thing is so cool that I *may* have taken it into my room a couple times after my son has fallen asleep.


-------------------------------------------------------------------

9.) Cloud B Sleep Sheep

The Sleep Sheep is basically a super soft stuffed animal with a voice box inside.  On the back of the sheep is four buttons--one for mother's heartbeat, one for rain, one for ocean, and one for whale songs.  I don't recommend the whale songs--it's a little frightening in my opinion.  It has a volume control knob as well as an automatic timer that will shut off after 23 or 45 minutes.  The sheep has a velcro tab on the back that allows you to securely hang it in a number of places like on a bassinet or on a crib rail.  We used the mother's heartbeat sound for the first three months, then switched to the rain sound.  I find it to be very soothing and evidently the baby does, too.

-------------------------------------------------------------------

10.) Manhattan Toy's Wimmer-Ferguson Double-Feature Mirror


I searched high and low for a mirror that was safe for a baby but didn't look like it could belong in a funhouse.  This one was perfect!  The mirror is very good sized, too, at 14" x 10".  One side has a mirror while the other side features black and white pictures that appeal visually to babies.  It has two ribbon ties that are great for attaching it to things such as an activity mat or crib rails.  We also prop it up against things from time to time.  Right now we have it in the crib and my son always smiles at himself in it.  We can hear him babbling to the baby in the mirror at night when he's drifting off to sleep.


Monday, March 19, 2012

Alphabet Wall in Baby's Nursery

Well, I finally finished my alphabet wall art project for the baby's nursery!  Here's a finished look at my masterpiece:


Here's how I did it: 
I purchased most of the letters at Hobby Lobby as plain wooden or cardboard letters.  Some of them were already decorative and/or painted (like the G, I, J, & N).  On the plain ones I painted some and then mod-podged scrapbook paper on the rest (example: E is painted; Z is mod-podged with paint on sides).  

I used a cross for the letter T and even made a couple of my own letters (like the Superman S that I cut using my cricut machine).  All in all, I LOVE the finished product!  I was able to customize each letter to whatever I wanted and I'm all about customization!!

I had originally planned on putting all the letters directly onto the wall and then started to think about having 26 holes in my wall which was not very appealing (especially to my husband whom I had recruited to hang all these letters!).  So I decided to do plan B and purchase a large canvas from Michael's and then adhere all the letters to the canvas.  That way I only had to hang the canvas on the wall (which made for a much cleaner look AND a much happier husband.  Win-win!).

So now it's up in the nursery and is definitely the focal point of the room (at least until my precious baby gets here!).  Hope you enjoyed my how-to and if you feel so inclined to leave a comment, I would love to hear your thoughts!

Wednesday, October 19, 2011

My DIY modern glass ball bubble chandelier

I spotted a chandelier at a local lighting shop a couple years ago that I absolutely fell in love with.  Here's a picture:

I know, right?!  It's beautiful!  It's also over $3,000.00!!!  I am a frugal shopper and my budget most certainly does not include an extra three grand for a light fixture.  So I decided to be happy with the chandelier I had and just admire the beauty of this masterpiece from afar.

That worked well.  For a while.  Then my chandelier decided to go crazy.  Literally.  It started blowing bulbs every few days (these bulbs were $6 each to replace might I add!).  Then came the fuse blowing.  Eventually my husband (it could have been me but I'm blaming it on him)  lost the fuse box holder during one of our attempts to buy more fuses at our local Home Depot.  So now we have a chandelier that doesn't work.  At all.  Here it is:
 
I complained about my non-working chandelier for over two years.  Yes, TWO YEARS!! We tried everything we could to fix it.  We talked to experts at Home Depot, electric stores, lighting stores, the chandelier manufacturer, even local electricians.  It just was not meant to be for us to fix this chandelier because every route turned into a dead end.  
 
I'm not sure exactly what changed or how I convinced my husband, but I got it in my head about a month ago that I could make my dream chandelier for much less than $3,000.00.  So I did!

Shopping List for My Inspiration:
glass balls
plywood
metal flashing
fishing line
metal hooks (I ended up using paperclips)
some sort of light fixture
various craft supplies (like glue, wire cutters, etc.)
a handyman (or husband)

Here are a few photos of  the construction process:
*DISCLAIMER: It appears as though my husband is doing all of the work, but rest assured this is only an illusion.  (I was the only one who would take any photos therefore I am not in any of them.)


At this point, we have the base for the light completed and wired.  You can see the fishing line hanging through all those little holes in the metal flashing.  Now for the really fun part.  Hanging all the glass balls!


*SECOND DISCLAIMER: My husband hung two glass balls.  Literally, two.  I did the rest because "my hands were smaller".  Good thing I'm not afraid of heights.

Here's the finished product!!! (from a couple angles)  Final tally: $170.00 (plus hours upon hours of manual labor)


So my end result is a one of a kind custom chandelier designed and built by ME (with my wonderful husband's help, of course).  It was definitely inspired by the  one I found several years ago, but I LOVE mine way more than I did that fancy schmancy one for three grand.


Welcome!

I have lots of design projects and inspirations that I can't wait to share with you!  Thanks for reading!